The Straw Bale Method
Grow anywhere. No soil required. Concetta has been doing this for over a decade.
Learn from ConcettaConcetta West
“10+ years ago I had the honor of attending a straw bale gardening class taught by Joel Karsten. His methods inspired and equipped me to grow a market garden and 30-member CSA with the produce from my very first Straw Bale Garden in Washington State.”
Concetta is one of a small number of certified instructors trained directly under Joel Karsten — the creator of the straw bale gardening method. She's been practicing and teaching this technique for over a decade, across two states and two different growing zones.

Volunteer Gardener is streaming now.
Want the PBS episode link, remaining air dates, and the Ag & Arts Tour plan for seeing the garden in person? We built a single page for that so it's actually easy to find.
Why Straw Bale?
Five reasons this method changes how people think about growing food.
No Soil Needed
Grow anywhere — gravel, concrete, rocky ground. The bale is the garden bed.
Simple Setup
No tilling, no raised bed lumber, no hauling cubic yards of soil. Bales arrive, you condition them, you plant.
Plant Anywhere
Patio, driveway, field, hillside. If you can set a bale there, you can grow there.
Fewer Weeds
Weed pressure is dramatically lower. You're growing in straw, not native soil loaded with weed seeds.
No Crop Rotation
Because you start fresh with new bales each season, the soil disease problems that require crop rotation simply don't exist.
High Yield
The warm, decomposing interior of a conditioned bale is extraordinarily fertile. Plants grow fast and produce abundantly.
How It Works
Six steps from empty bale to full harvest. This is the exact method Concetta teaches.
Choose Your Bales
Use straw bales — not hay. Hay contains seeds that will sprout and compete with your plants. Wheat, oat, or barley straw all work well. Orient bales with the cut ends facing up — this is where roots will grow.

Condition the Bales
Conditioning triggers decomposition inside the bale, creating a warm, nutrient-rich growing medium. For 12 days, alternate watering and applying a high-nitrogen fertilizer (blood meal or ammonium nitrate). The bale interior will heat up — this is good. It means it's working.
See the complete 12-day conditioning schedule →
Plant Your Garden
Once the bale cools (below 99°F), you're ready to plant. Create holes with a trowel or your hand and fill with potting mix before transplanting starts. Seeds can be planted directly into a thin layer of potting mix spread across the top. Water daily — bales dry out faster than soil.

Build a Trellis
Tall plants like tomatoes, cucumbers, and beans need support. Run stakes at each end of your bale rows and string wire or twine horizontally every 10 inches. The bale rows naturally become the base of a vertical growing system — maximizing yield in a small footprint.

Grow & Harvest
Water deeply each day. Bale gardens are highly productive — the decomposing straw continuously feeds your plants. Tomatoes, squash, peppers, herbs, cucumbers, and melons all thrive. At Forevermore, we run the full season from late spring through first frost.

Close the Loop
Nothing goes to waste. After the season, the partially composted bales go straight to the compost pile or directly onto garden beds as mulch. Next year's soil is richer for it. That's the straw bale method — it feeds the garden and improves the land at the same time.

The Garden at Forevermore


This Garden Is on Volunteer Gardener
Nashville PBS aired a feature on Forevermore's straw bale garden, and the episode is online now — or come see the real thing at the Hickman County Ag & Arts Tour in June.
Watch Episode & Visit Info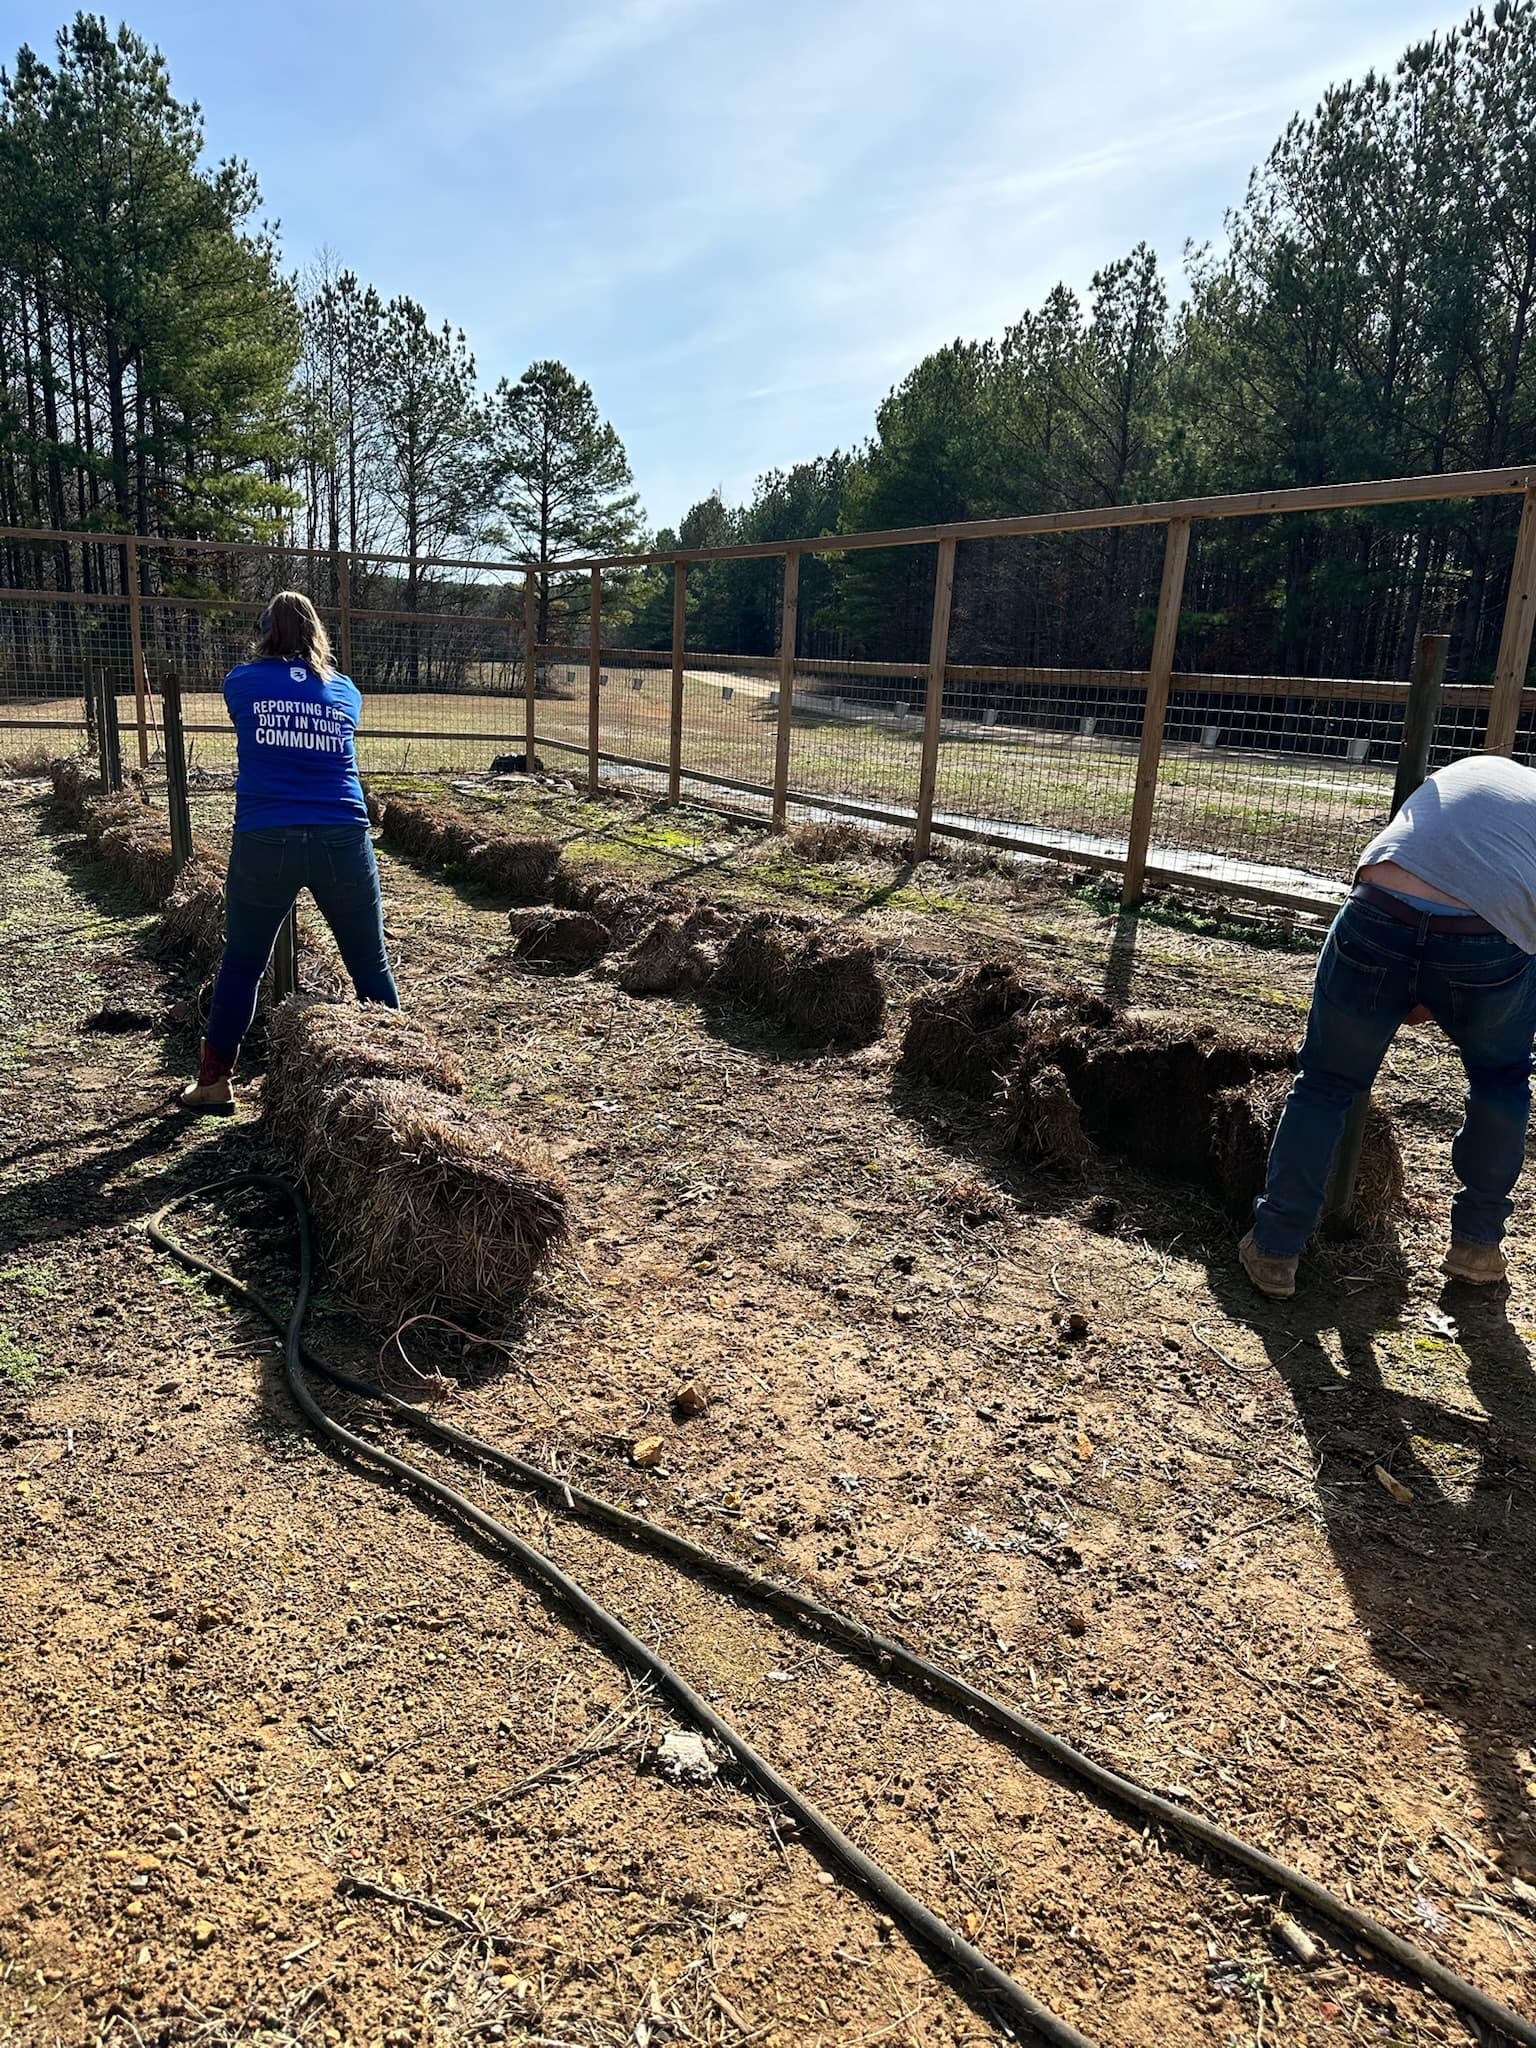
Workshops with Concetta
Learn straw bale gardening hands-on at Forevermore Farm. Small groups, real instruction, real soil — or rather, real bales. Workshop dates will be announced to the email list first.
See Upcoming EventsDownload Concetta's Complete Conditioning Guide
The exact 12-day schedule she uses at Forevermore Farm — yours free.